Sunday 11 November 2018

And... more handbound diy journals...


A few months ago I posted about a handsewn leatherbound journal I made. This is what it looks like:


I really love my journal. I can art in it, write in it, I even added a little glitter shaker because I love glitter more and more. But I really missed a journal for out and about, one that will fit into my handbag. I might add that I am not really a big handbag gal, I like my handbags to be small yet roomy, and I do not buy handbags because I can make them myself just the way I want them. But my handbag is just not big enough for my A5 size journal, it fits inside, but then the bag won‘t close. 
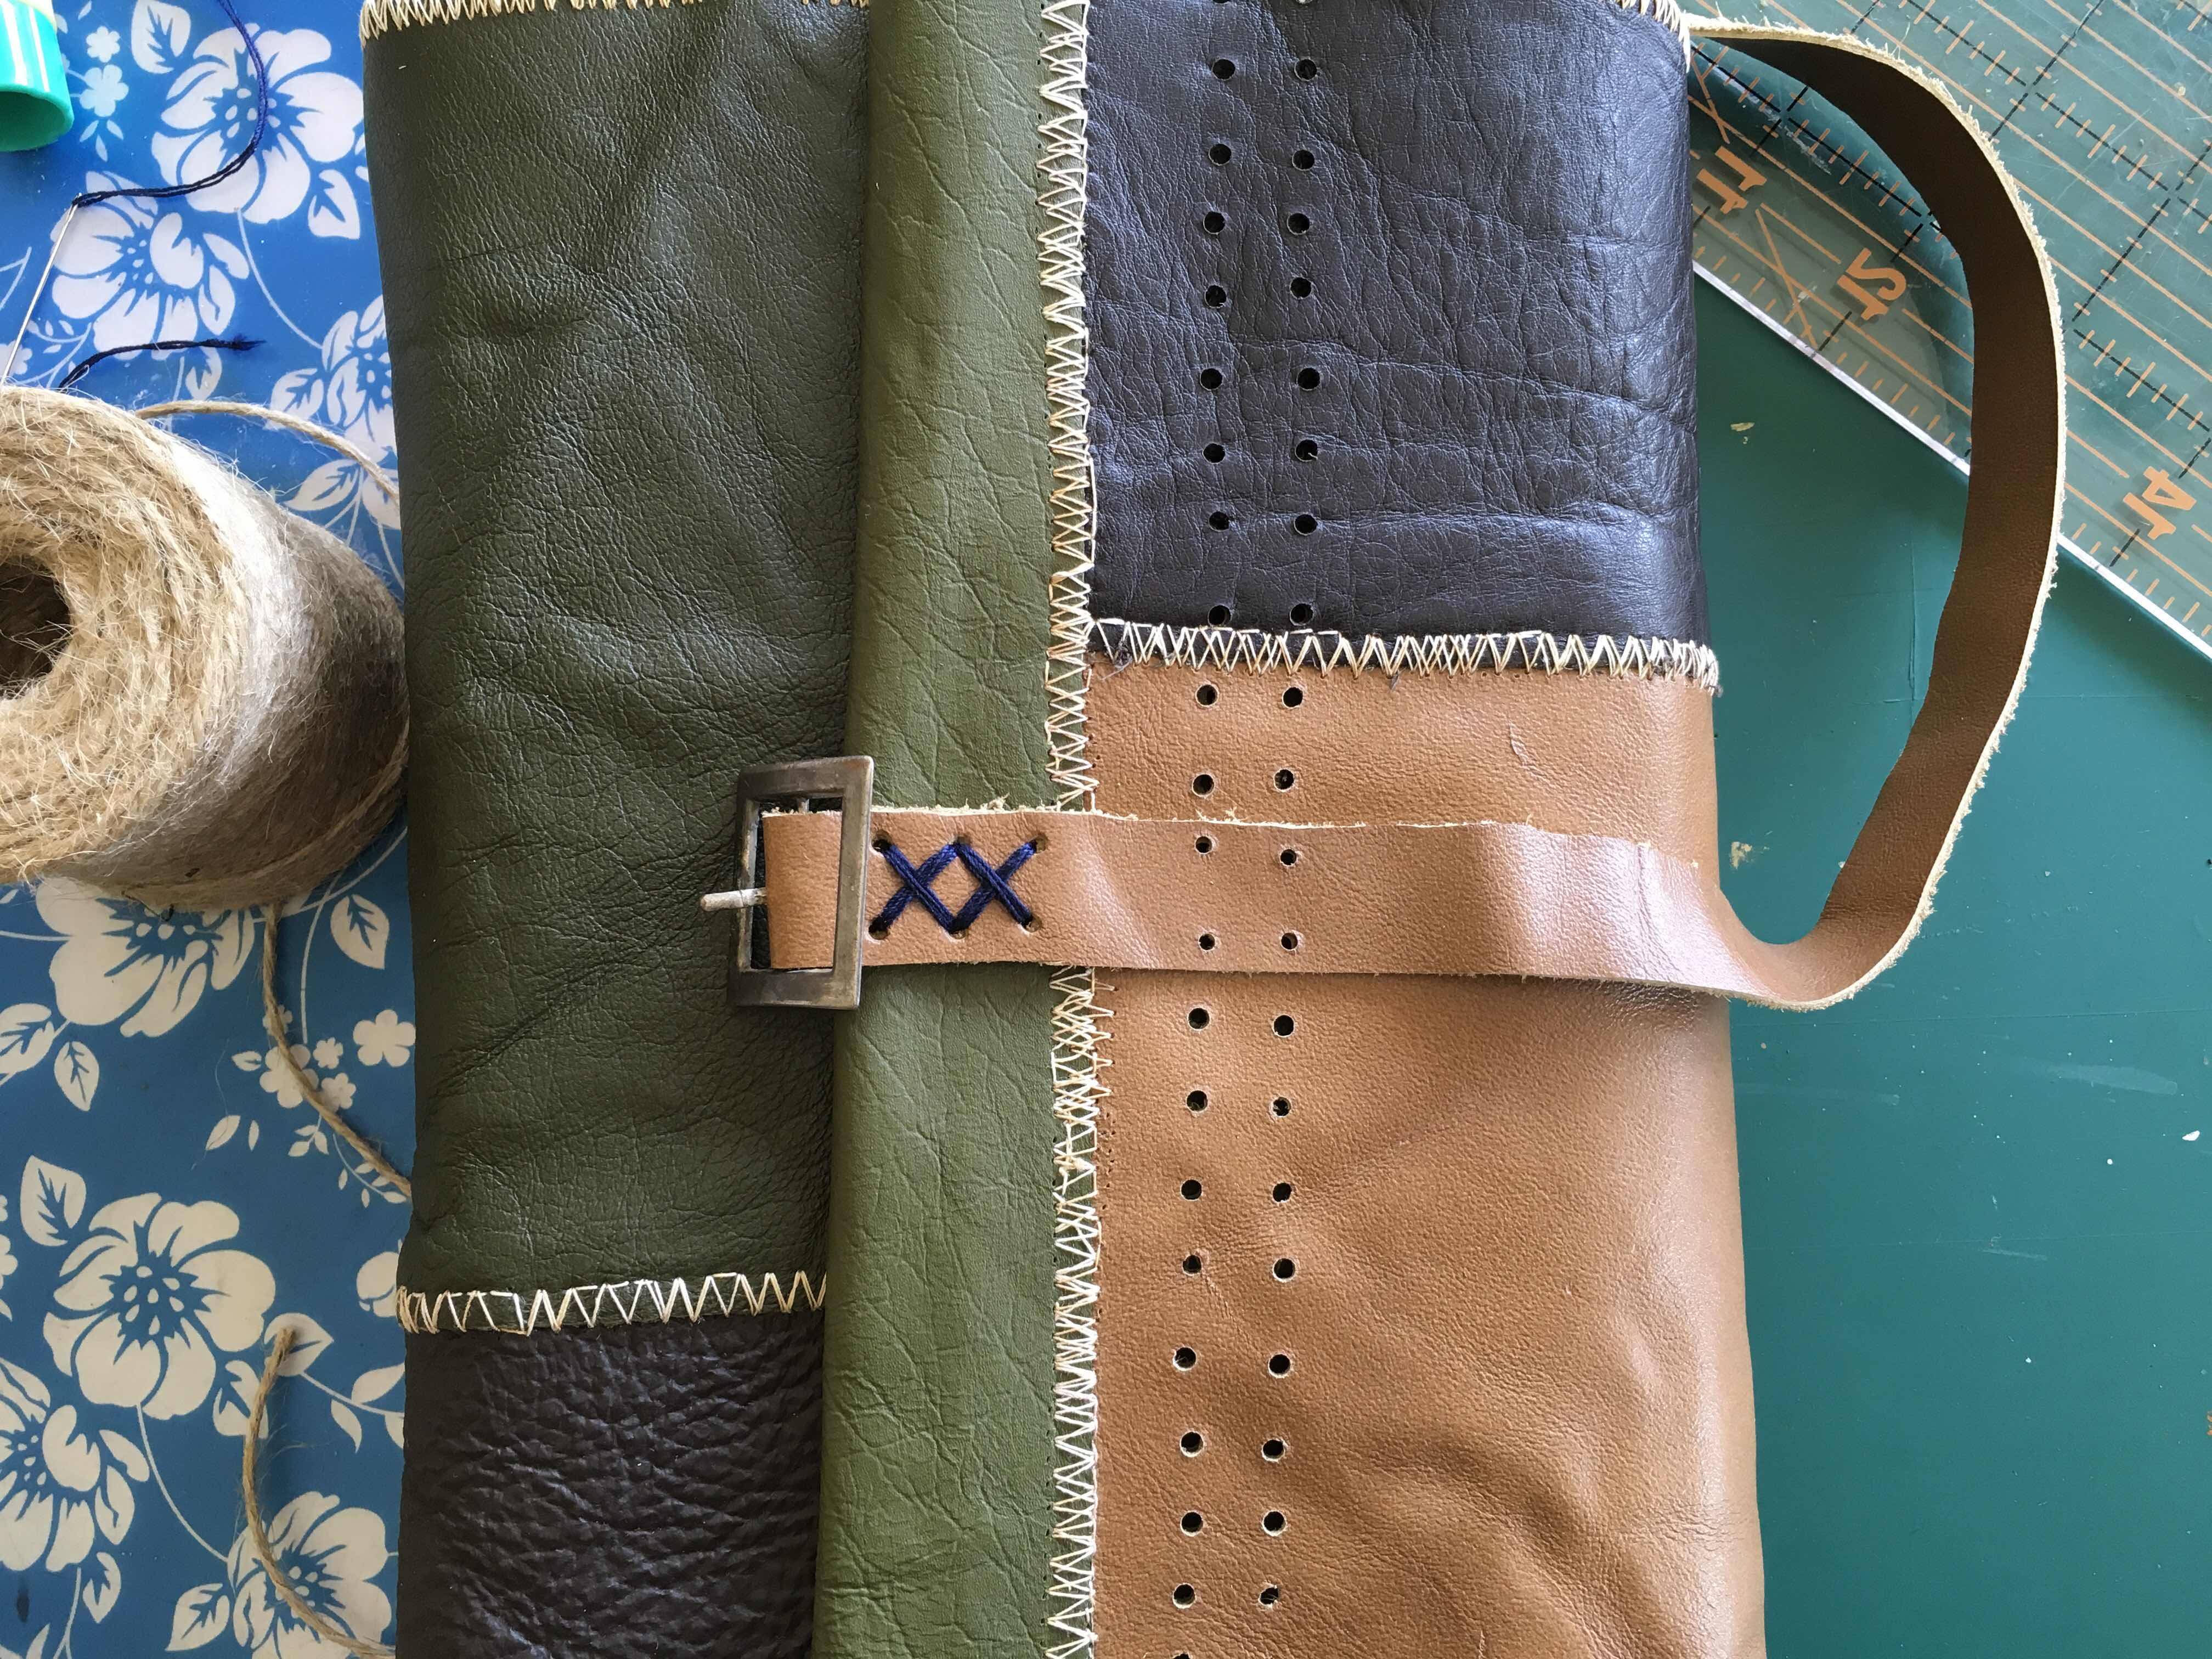
So I took out my leather scraps and my paper pads and watercolour paper leftovers and now my journal has a little sibling!


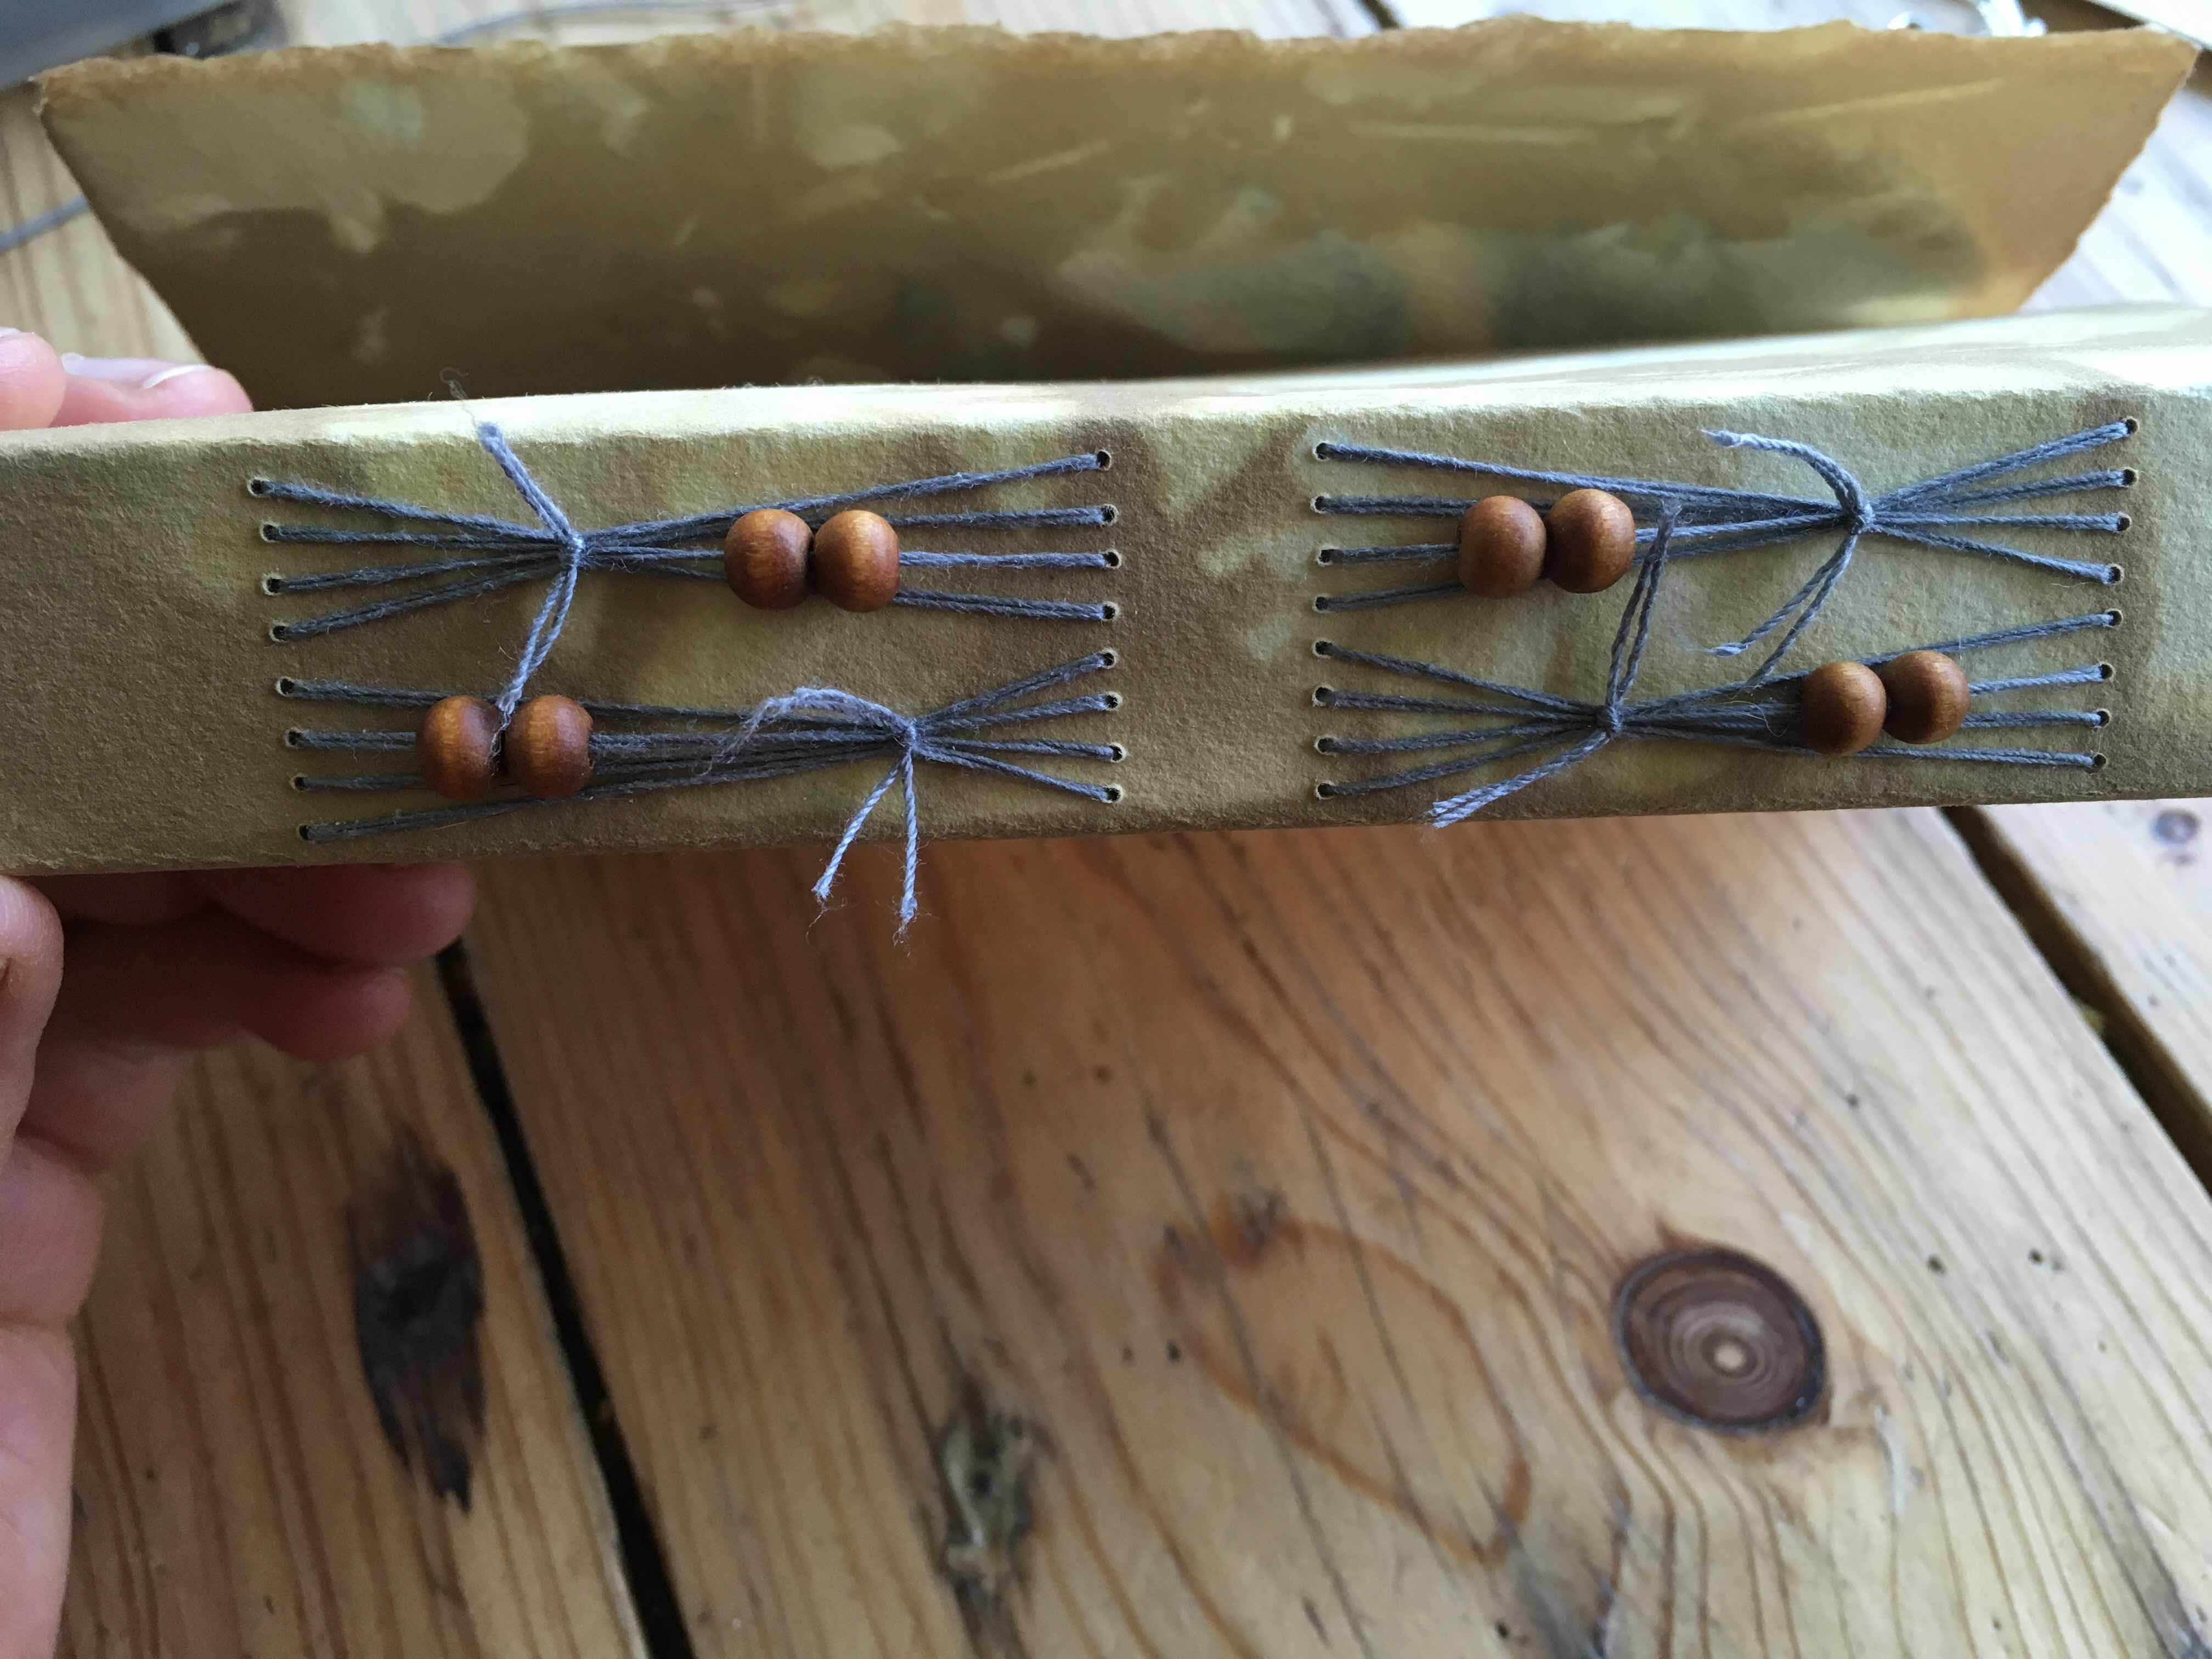
The style and layout is the same as for the big one, six little lined paper inserts for writing in and in front the art journal insert from watercolour paper. This journal is 100% handsewn though, I have learned from the last time that my sewing machine can‘t handle several layers of leather. So I used my dremel tool with the smallest drill bit to pre- drill the holes for sewing the scraps of leather together.


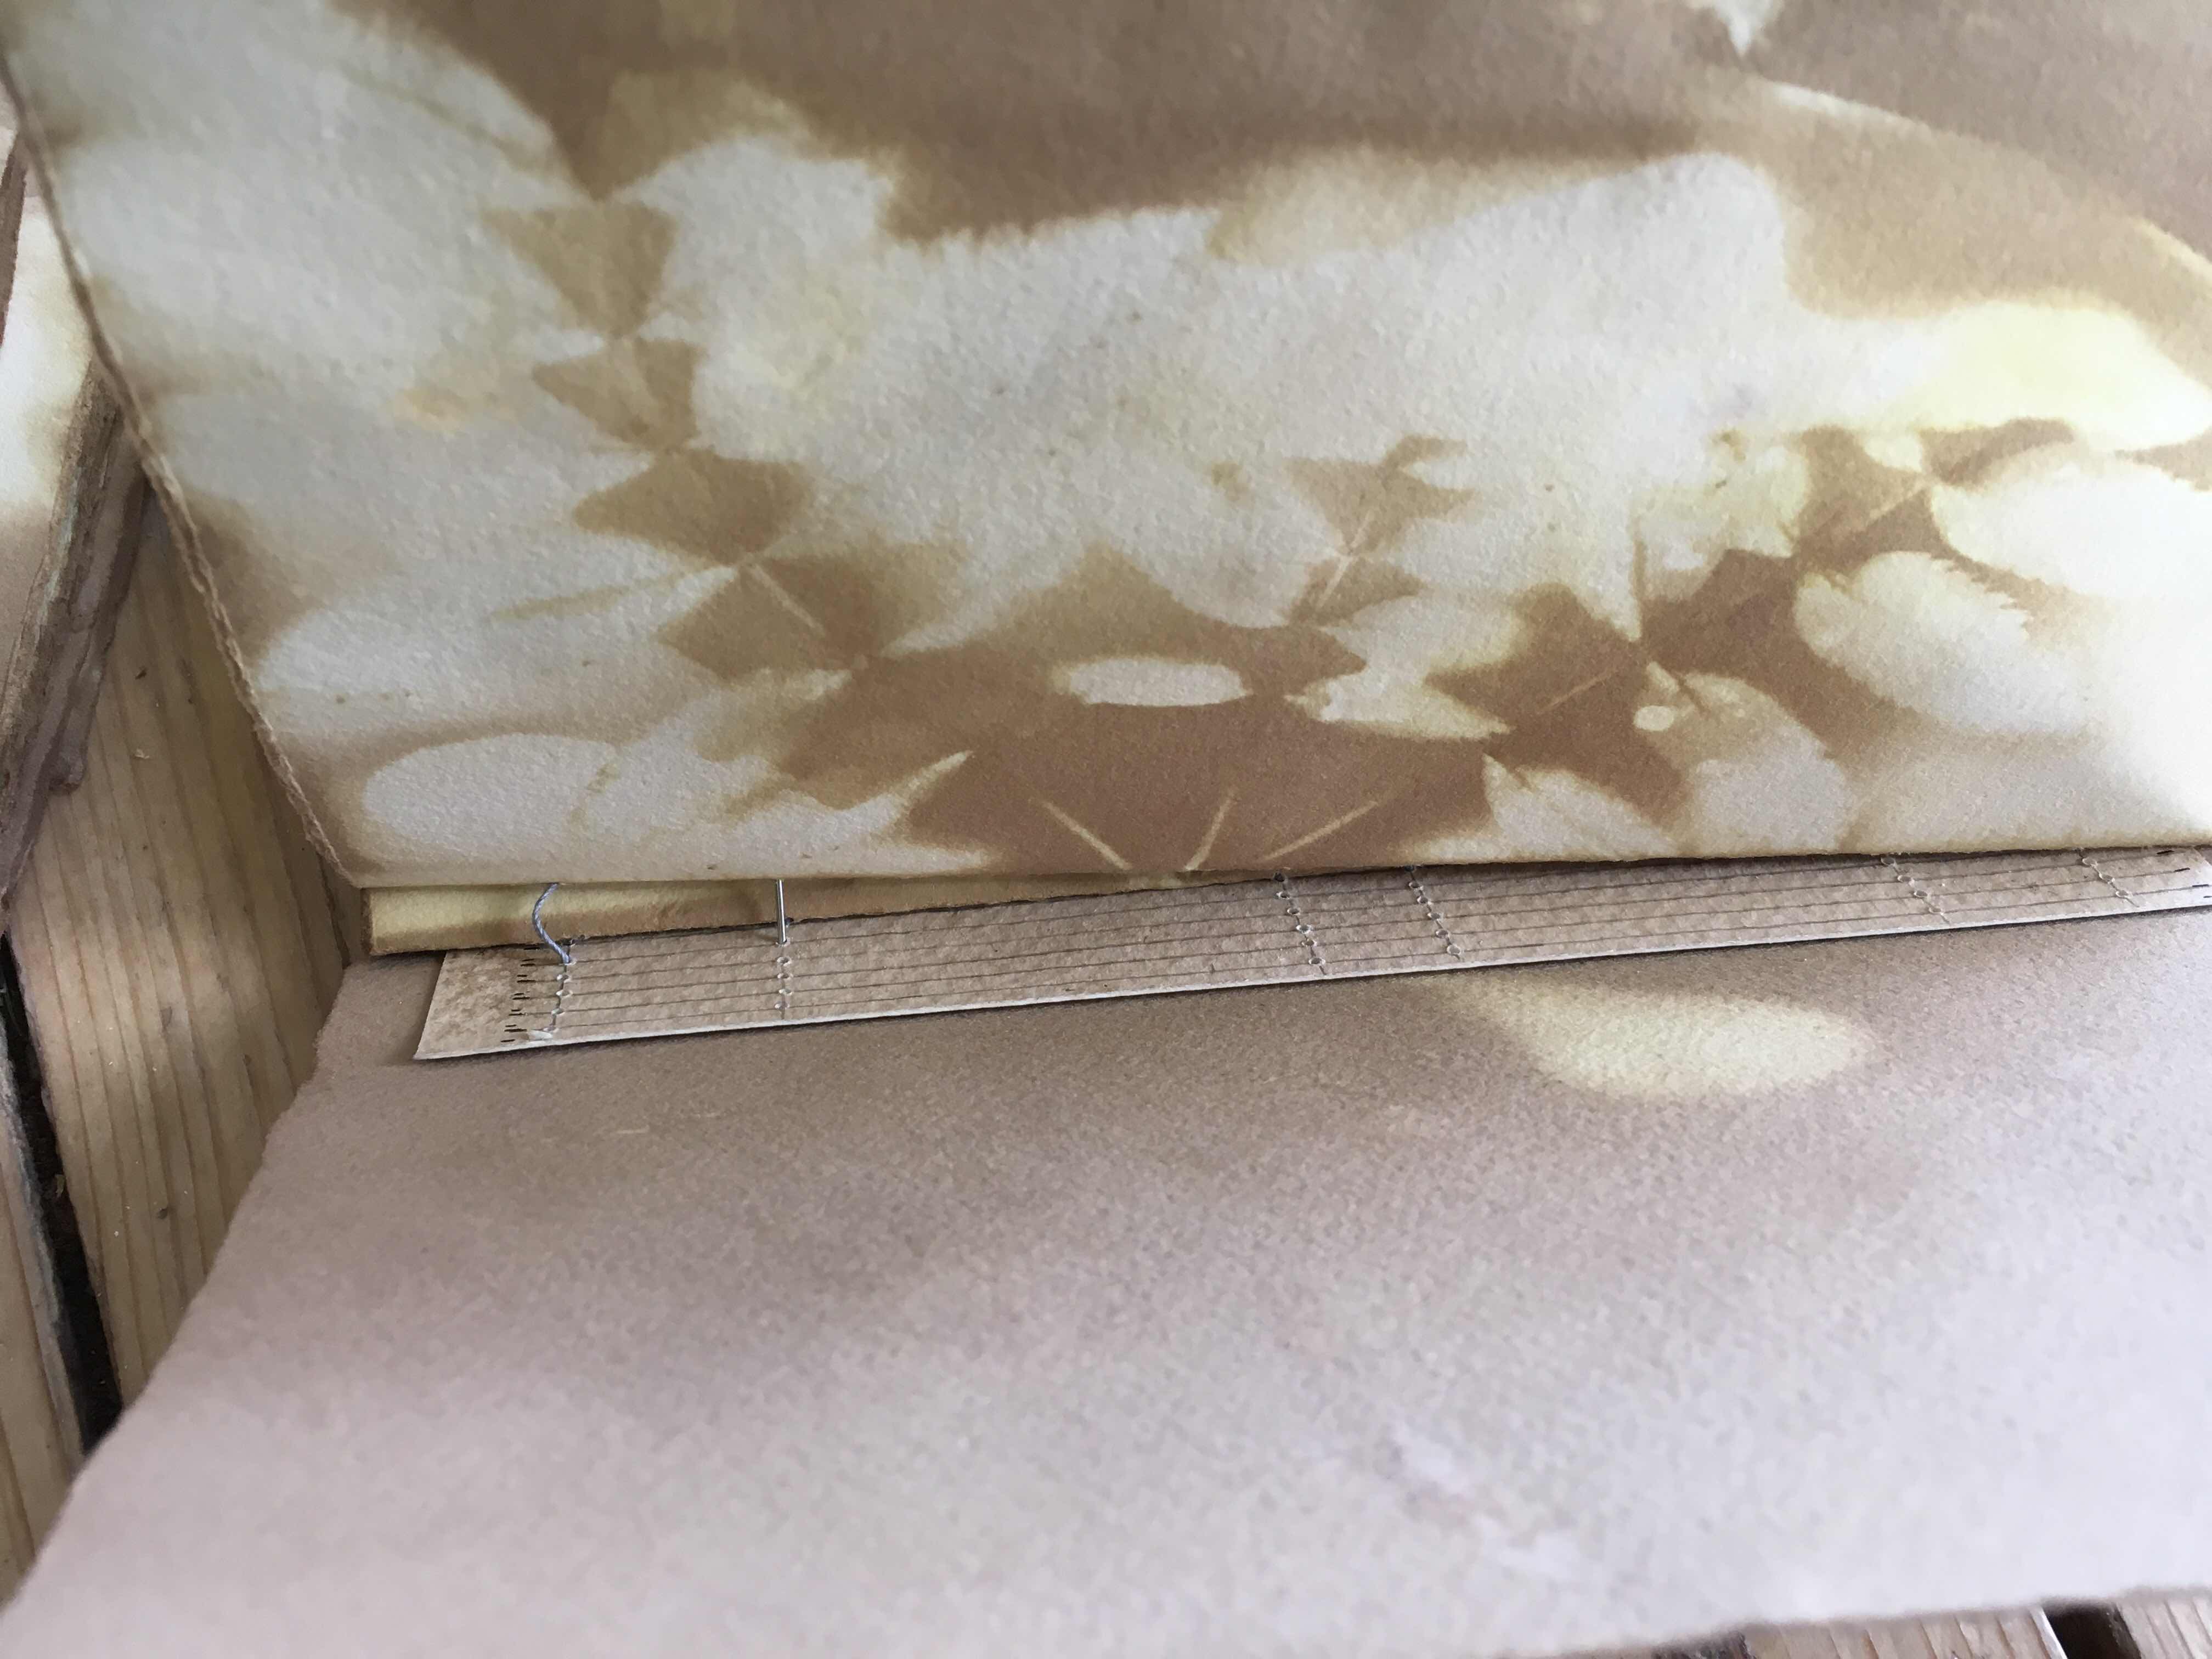
In the next picture you get to see the layout with the different inserts from above.


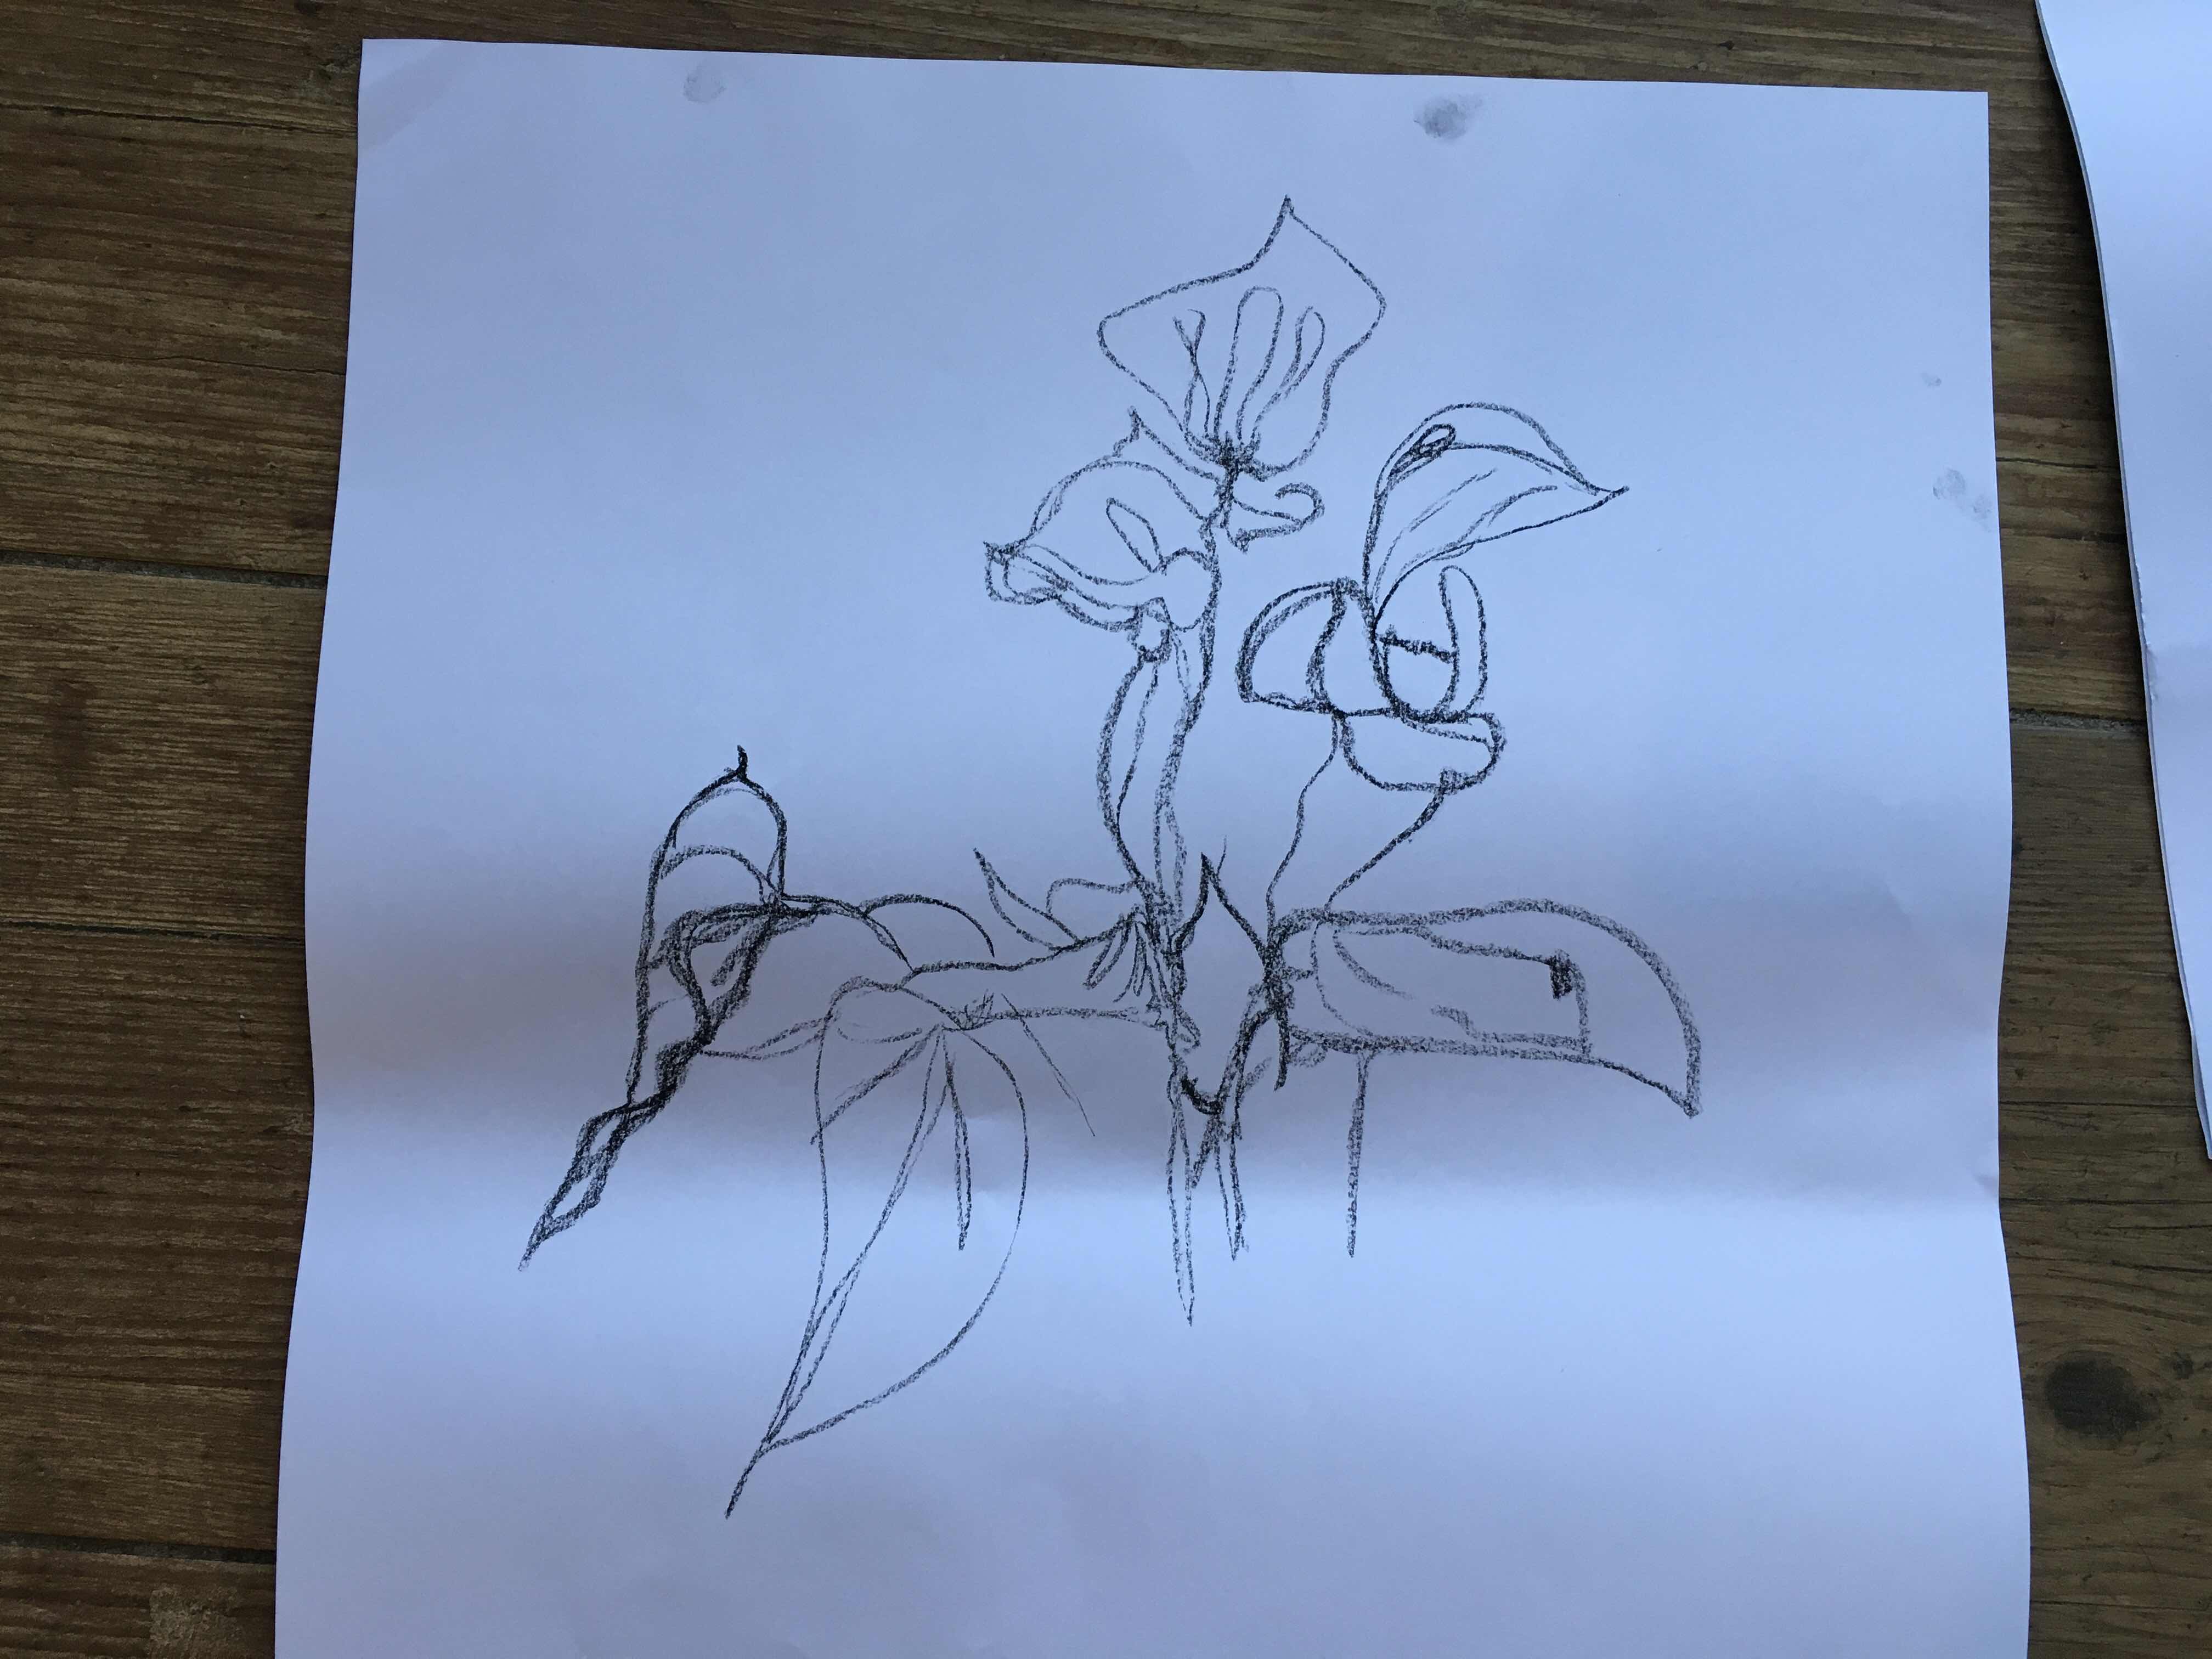
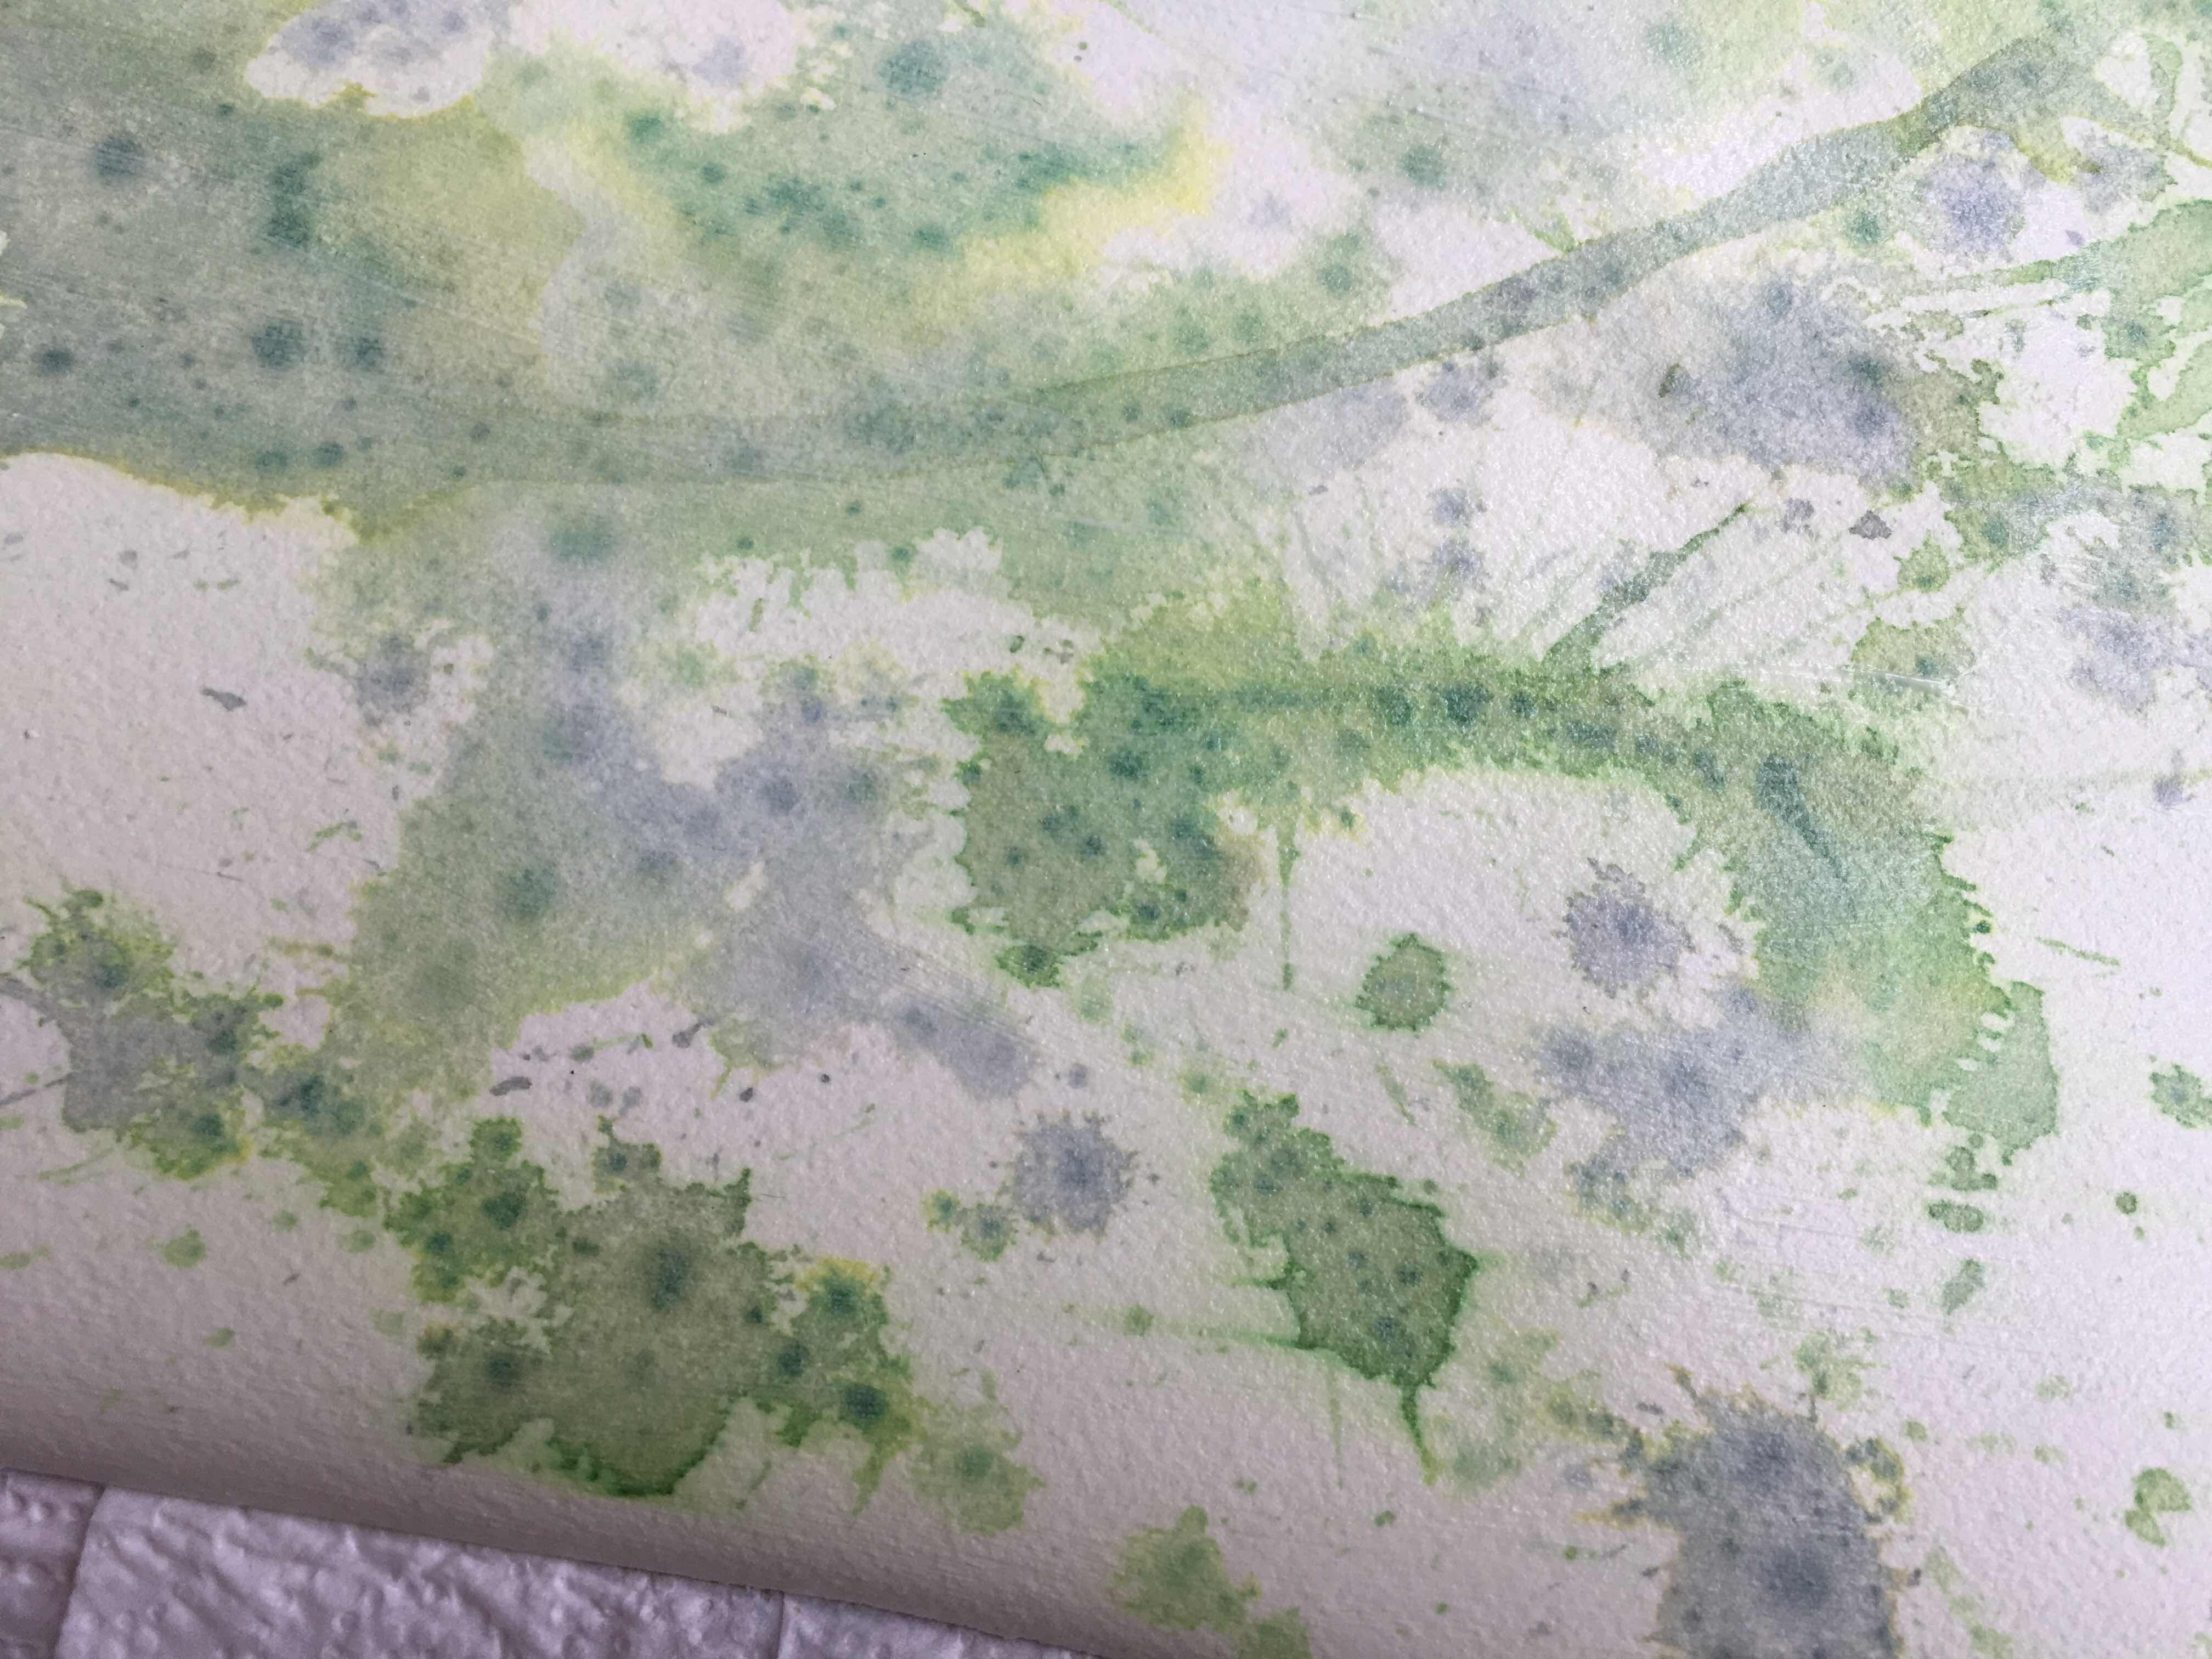
Another thing I did differently is the paper cover around each insert. In my big journal I used heavy cream printer paper, in this little beauty I took my little kids art, cut some of it to size and used that for the covers. Now, I have a lot of kids, they happen to produce a ginormous amount of art I just do not want to keep and yet can‘t quite throw away. So for me to repurpose some of it in this way is better than the recycling bin.
This one is from my youngest son.


And this is from his twin sister.


They really use paint so differently: she uses lots of different colours, with quite dainty strokes. He saturates.


Sunday 14 October 2018

Taking My First Art Course

I decided to take an art course. It came advertised and organised through my local art gallery and I had met the teaching artist briefly before so I decided to go for it. It teaches Line, Tone and Form and in the first lesson we learned about „measuring“. That is when an artist holds out a pencil toward the object to be painted and uses the pencil to measure everything! It is tedious, I can see it can have its uses and I hated it. I got really frustrated and felt kind of stupid towards the end and I drifted off a bit mentally and started to embellish the boots I was supposed to measure...


Yes, I can be a little devil ;-)


Then yesterday was the second part of the course, we used different types of charcoal to draw some tasteful scenes our teacher had prepared for us. It always starts out with us making a 5 minute drawing of a scene we have before us. Then we do a blind drawing of the same scene, where we can look at the scen but not at what we are drawing, that is always funny and I really enjoy it...


Yeah, this is already a lot better than the first time I used this technique, we do this to help slow down our eyes to be able to see more details. we started drawing with compressed charcoal.
We did another round of blind drawing and I tried to focus more on the fabric folds in the background.


Then we follow this up with a line drawing, we can look at both the paper and the object, but we are not allowed to lift the pencil/charcoal off the paper, it has to be done in one continuous line. Again this is to help slow the eyes down even further.


I really should practise this at home a lot more, my eyes tend to dart over the objects way too fast... and I am still drawing parts of the same still life...

Now we had a lot more time for our drawing (20minutes) and we had to use the full side of the compressed charcoal and not the pointed edges. First block in very lightly where everything is and then get to the details later. I loved doing this...


Then we switched places around a little to get to draw different scenes (I think most participants stayed where they were).


First we used willow charcoal to give our sheet of paper a medium tone, then we used a range of charcoal sticks, erasers and paper stubs to work out the lights and darks of the scene before us. I found this very difficult because I tend to work and think more in outlines than lights and darks and tonal range. I had not worked with a monochrome range before and it was also new to me to take colour out to create highlights. I still like how it turned out, maybe because I did not feel nearly as frustrated as with the boot measuring...


I am looking forward to the last part of the course...


Monday 16 July 2018

Feathers

I love feathers. Of all kinds of birds, in all shapes and sizes. They remind me of lightness and I keep using feather patterns in my art projects.
After I had made my June postcards I had some of the coloured watercolour paper left over. It would have been a waste to throw them out and so I went ahead and made some feathers out of the scraps. I tried to use as much of the paper as I could and ended up with differently sized feathers which I then made into a fan with a brad and srap paper discs.


Making my feathered fan gave me an idea for the end of year teachers gifts in my local playschool, after all they looked after all of my children and now my last set of kids is moving on into big school I wanted to make the teachers gifts a little special. 
So I took papers and my trusty Gelatos and made more colourful paper to cut out my feathers from. I had to make 5 feathers in total for 5 teachers, and out of each paper piece I got a big feather and 4 small feathers.


Cutting out some details and marking the feather lines with my paint markers. I had planned to attach the little feathers with the furry string you see in the next picture but I changed my plans and improvised...


Apart from the feathers I also made hand tie dyed bandana scarves. I made 6 scarves, wrapped them all and then chose 5 at random for gifts, this is the one that was then left for me...


And the little feathered scarf gift parcels all done up. As you can see I ended up using brads to attach the small feathers.


The large feathers all have a Thank You note written on the back. Since I had randomised all the gifts I could not really personalise the notes, but from what I heard later all teachers loved their scarves and feathers...


Sunday 15 July 2018

Whimsical Girls

I was writing in a previous post about an artist named Tamara Laporte, working under the name of Willowing. I purchased a series of art lessons of her webpage and started taking her lessons bit by bit, it is slow going during the summer holidays when all the kids are at home and „under my paintbrushes“ so to speak.

One of the most recent lessons was called „The Happy Traveller“ and the subject was a front facing whimsical girl with a travelling companion (or several) and a little paper pouch for a message to myself. I really enjoyed painting this girl, Willowing went into great detail how she is shading faces and all the little details that go into it. She also makes a lot of use of collage and brayering with acrylic paints.

This is my Happy Traveller:


As you can see she is already framed and hanging in my living room. She is my first whimsical painting I framed and put on display, so of course she is very special to me. She is supposed to be happy, I am still working on facial expressions; at least she does not look tortured, just a little sad. I used watersoluble crayons, gelatos, acrylic paints, matt medium, tissue paper and international stamps for collage, white and black paint pens and pencils for added colour and shading.
I can not really recommend using modern stamps for collage, their surface is slightly water and paint resistant and not easy to work with so I ended up covering some again with tissue paper to tone them down.
I also used the ghostly flowers again, the same ones I made for the postcard swap last month.

I really enjoyed this class and can only recommend it, I am looking forward to my next willowing lesson.

But first I made another whimsical girl, this time I tried to work and build up the face layers from memory, to get a feel for what happens when I use different paints and techniques together. This time however I was a little uncertain what to do for a background. I seldom plan my girls, they just grow and „happen“ to be quite honest. My husband suggested a red fiery inferno, my own plan had been some cool green foliage forest design behind her. So I decided I could try out both and decide later...


I cut out her outlines and made the background on the front and back of a separate piece of watercolour paper: reversible. For the undecided viewer ;-)
I used my watersoluble crayons and gelatos, acrylic paints and paint pens, watercolour markers and tissue paper for the collage on her collar amd sleeves.

I am not sure, she still needs a little something to set her off optically a little bit more from the background. Maybe a slight shadow line? Or a halo of sorts?


Thursday 5 July 2018

June Postcard Trade

I participated in a wonderful postcard trade in June. The only guidelines were that the postcards had to be 4“ x 6“ in size and feature bold colours, some doodles and some writing.  Perfect for when you are starting to explore all the lovely goodies in your art supply stash, and also for using up scraps and leftover papers and such.

I chose heavy watercolour paper for mine, and these particular sheets I had done a splatter technique with fabric dyes, not realising that for this particulad dye to be fixed I would have had to soak the paper in soda ash. So my green splatters moved and stained as soon as I tried to paint and draw over them, and for the postcards I toned the green down and also fixed the dye with a thin coat of gesso. You can see how the green moved in the green streaks in the next picture.


Following the Gesso I gave my paper a nice coating with Gelatos, an item in my stash I am now using more often in my pictures. I first smudge them more even with my fingers and then go over them with thin white acrylic paint.


I think I also used my brayer and white acrylics in my layering process and I ended up with some nice soft but still bold colours. Next I sketched random flower outlines on my cards and filled them in wih thinned white acrylics again, They looked a little ghostly to me and I really liked how they turned out so I decided not to paint them any more but instead I tried to enhance them with a coat of matt black.


Now they looked even ghostlier, if that is even a proper expression. But I think you can see what I mean.
And next I did my doodles and outlines with black and white paint pens.


During this process it turned out that a few more people were participating in the postcard swap than I had anticipated, and also I had falled in love with one of my own cards (making it impossible to send it to someone else) so I had to gesso and prepare another sheet of watercolour paper and make some additional cards. Then lastly they all got a protective coating because I wanted to make sure none of the Gelatos smudged in transit, you can see all my cards in the next picture. The late stragglers I made are still missing some doodled decoration but I figured the paint pen could stick to the coating and would be safe on the journey.


And this is my favourite card I kept. Well, I didn‘t really keep it at first, I mailed it off with all the other ones just adressed to myself. I also had one additional card left over and I mailed that one to my Mom (Hi, Mom...), she had mentioned that she never gets any nice mail at all...


Sunday 1 July 2018

Scrap Leather Journal Cover

I tend to keep a journal. I used to when I was a teenager, and then I did not for a good number of years, I thought I had probably grown out of it. But in recent months I have found it very helpful to sort „thinking“ out by writing it down. It helps to prioritise what is really important and what is just mental noise and a little time down the road it will be nice to look back to see the changes that have taken place or where changes still need to happen. 
I do my journal writing in a little A6 size notebook made from recycled leather. It has six sewn in signatures and the long stitches on the spine are decorated with tiny bells, I think it was the little bells that made me buy this particular one. Anyhow, this journal is starting to be a little full and so I started to think about what kind of book I would like to keep writing in. I considered taking out the full signatures and replacing them with new ones, but I found that I like to write on narrow lined paper and to obtain (or make) paper to my desired specs seemed a little arduous. Then I thought about storing my full signatures, I live in a small house with a lot of people and stuff in it, storing space is precious. And then in my local stationary shop I found bundles of A4 narrow ruled pads on offer. Unfortunately (I thought then) they all also had holes punched on the left side for filing them in folders. But hold on... for filing them! In folders! I got me a pack of these pads and went home thinking some more.
Last Christmas my Mother in Law sent me a beautiful big box full of leather scraps, she got them for me in the huge craft shop she has in her neighbourhood, they have a big chest full of off cuts and such there. I already had the leather, and the paper, and I had also decided I wanted my journal to have slip in booklets like a travellers notebook. Because now that my paper has holes for filing, why not use them? I then found this lovely video on Youtube on How to upcycle boots into a journal and I was hooked.

Just in case you are wondering: the cutting mat is upside down, not the picture. But you can see the scraps and the paper sample I made for estimating the signature size.


My biggest whole piece of material was the guideline for the patchwork pieces.


To hold the pieces together during sewing I used a fabric glue stick I had bought (and almost never used) years ago, it provides just enough tack to hold the bits together long enough for me to sew them.


I have to admit my sewing machine did not like this job, it kept skipping stitches and left me with uneven stitching and some extra holes in the leather, but faced with the choice of being annoyed about it or embracing the very rustic look (oh I can be a perfectionist at times) I went for the rustic look. 
The large holes in the next picture are made on purpose though, the cover flap was too big but I did not want to cut it so I just bent in inwards and this will be the securing seam.


Front view at this stage, I took the belt buckle off an old childrens boot and I will attach it with the handsewn securing seam.


I wanted to use a thick waxed cord but I did not have enough of it so I decided to use twine instead, I had to use a needle and loop method to get the twine through the punched holes. And there also is already some bling attached...


And the finishedcover front, even with two little clusters of bells attached. I had to have the bells...


The cover was planned to hold six signatures, But after it was assembled there was still a lot of room in the spine. I had doubled the layers of leather to give the spine more stability, but this caused the stiffer section to be bigger than my six signatures and so I added another set of holes. I now have eight signatures inside.


Side views of the finished thing...


Inside cover flap, I might make a little opening into it for holding a pen...


And my signatures. The one on the left is a stack of bound watercolour paper folios and on the right is one of my writing signatures. I just folded my lined paper in half, put a cream paper around the stack and stitched them together with a pamphlet stitch.


And now you see my signature unfolded: the punched holes in the side mean I can easily file my filled signatures and I have an A4 page to write on, giving me plenty of space and even margins. Yes I have to turn the journal „sideways“ to write in it but I don‘t mind, that just makes it unique...


And all my journals lovely layers to view...


Saturday 23 June 2018

Sewn Boiled Paper Book

If you have read the previous post you know how the following beautiful book pages came to be, this post is all about the sewing and decoration process.
I also noticed that all my pictures turned out way too big for my blog layout so I am reducing the size, hopefully not loosing any of the details.

The following pictures show the holes in the folio (a single page is a folio, a few pages together are a signature) and also in the inner spine of the book cover. I wanted to give the spine a little extra stability and glued an extra piece of sturdy paper inside. I then used a dremel type of handheld drill to make the holes in the cover and in the folios, the watercolour paper is just a little too thick for a needle to go through.


When I make a book I always enjoy the sewing process the most, I think I used a long stitch here, with waxed embroidery thread and added wooden beads on the outside of the spine.


The finished book from the outside, the wood beads on the spine with tied long stitch binding and the closed cover with deckled feature edge. The blue tint on some of the leaves is from red beech leaves. We cut a green beech tree a few years ago and it came back with green and dark red leaves. The red always turns blue, you can try it out with most red berry tea varieties as well. The teabags start out red and turn bluish during drying. I wonder what would happen to paper boiled in red berry tea?


I also made sure that I placed folios next to each other that also had been together during the boiling process because I wanted to have continuity while flipping through the finished book. I will give a few examples here of this continuity.

Two adjacent folios, one mirroring the patters of the other.


Same folios, this time with the deckled cover opened. I took care to place leaves under each deckled cover as well.


The whole folio opened, revealing another mirroring pattern.


The next adjacent folios, the one on the left is the one from the pictures above.


Same thing here, deckled cover opened...


And the full folio inside visible.


This is what I meant by continuity, even though each folio is totally unique they are still connected to each other by the mirrored patterns of their outer covers with their neighbouring folios. 

Here are a few more lovelies...


And now all I have to do is fill this book with some awesome art. And to be honest that is a little scary to think of because I love how the book turned out, what if I mess it up with a drawing? The only think to keep in mind now is that without its intended content the book is still incomplete and unfinished...