I had lost my creative motivation over the last couple of weeks.
I was sick with a headcold and a cough, most of my family were also sick with the same, and to top it all off the outside of my house turned into a building site. We urgently needed to get exterior insulation and for that some of my windowsills needed to get demolished... the jackhammering noise was unbelievable (but neccessary)!
I just could not get myself to paint or even just draw something, when by coincidence (yes coincidence) I happened to pass my local art supply shop and of course I went in. They had just gotten some Canson Imagine Mixed Media paper pads in stock, my favourite smooth mixed media paper! And the big A3 size pad was also quite good value so I went for it.
When I feel down it always makes me happy to make a book. The process contains a lot of repetitive tasks and movements and I find this very calming for the nerves and for the mind.
Here are some great tutorials that cover the basics for sewing the signatures and folios together with different stitches, they are by
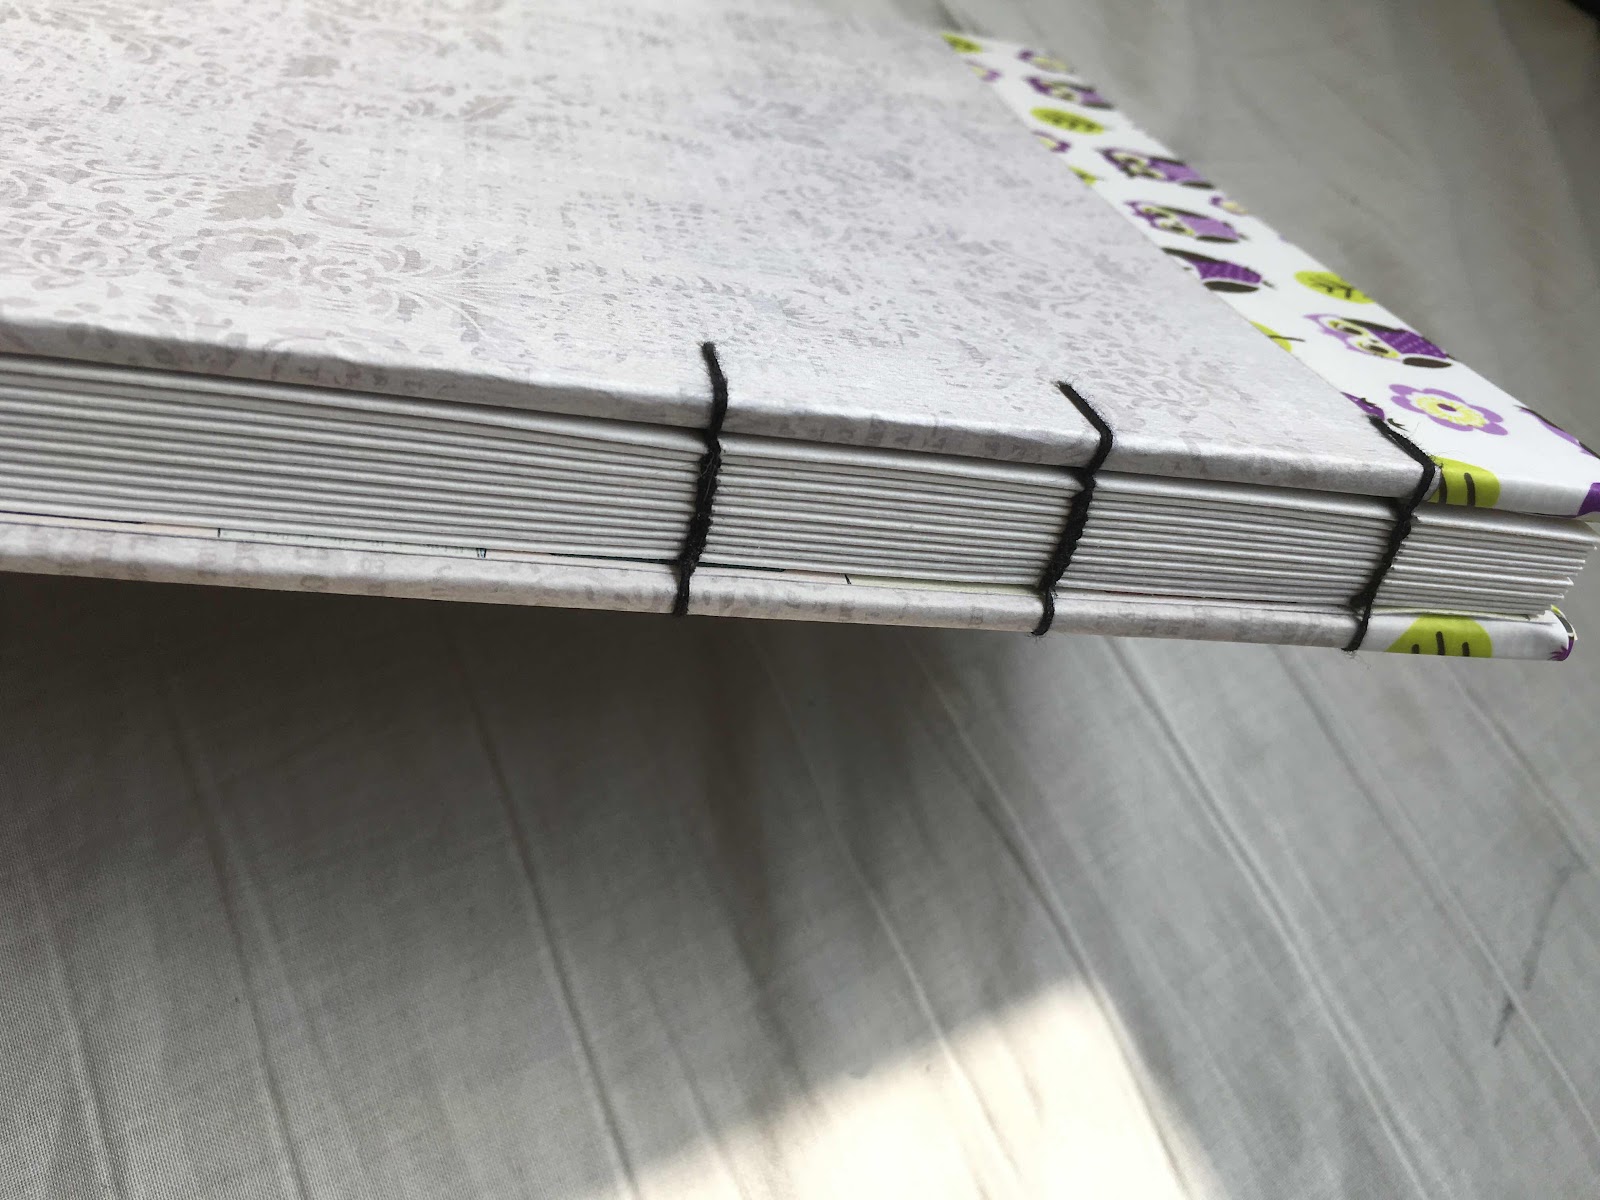
Sea Lemon, and here is her Coptic stitch
sketchbook. These two really form the basics for all my diy books.
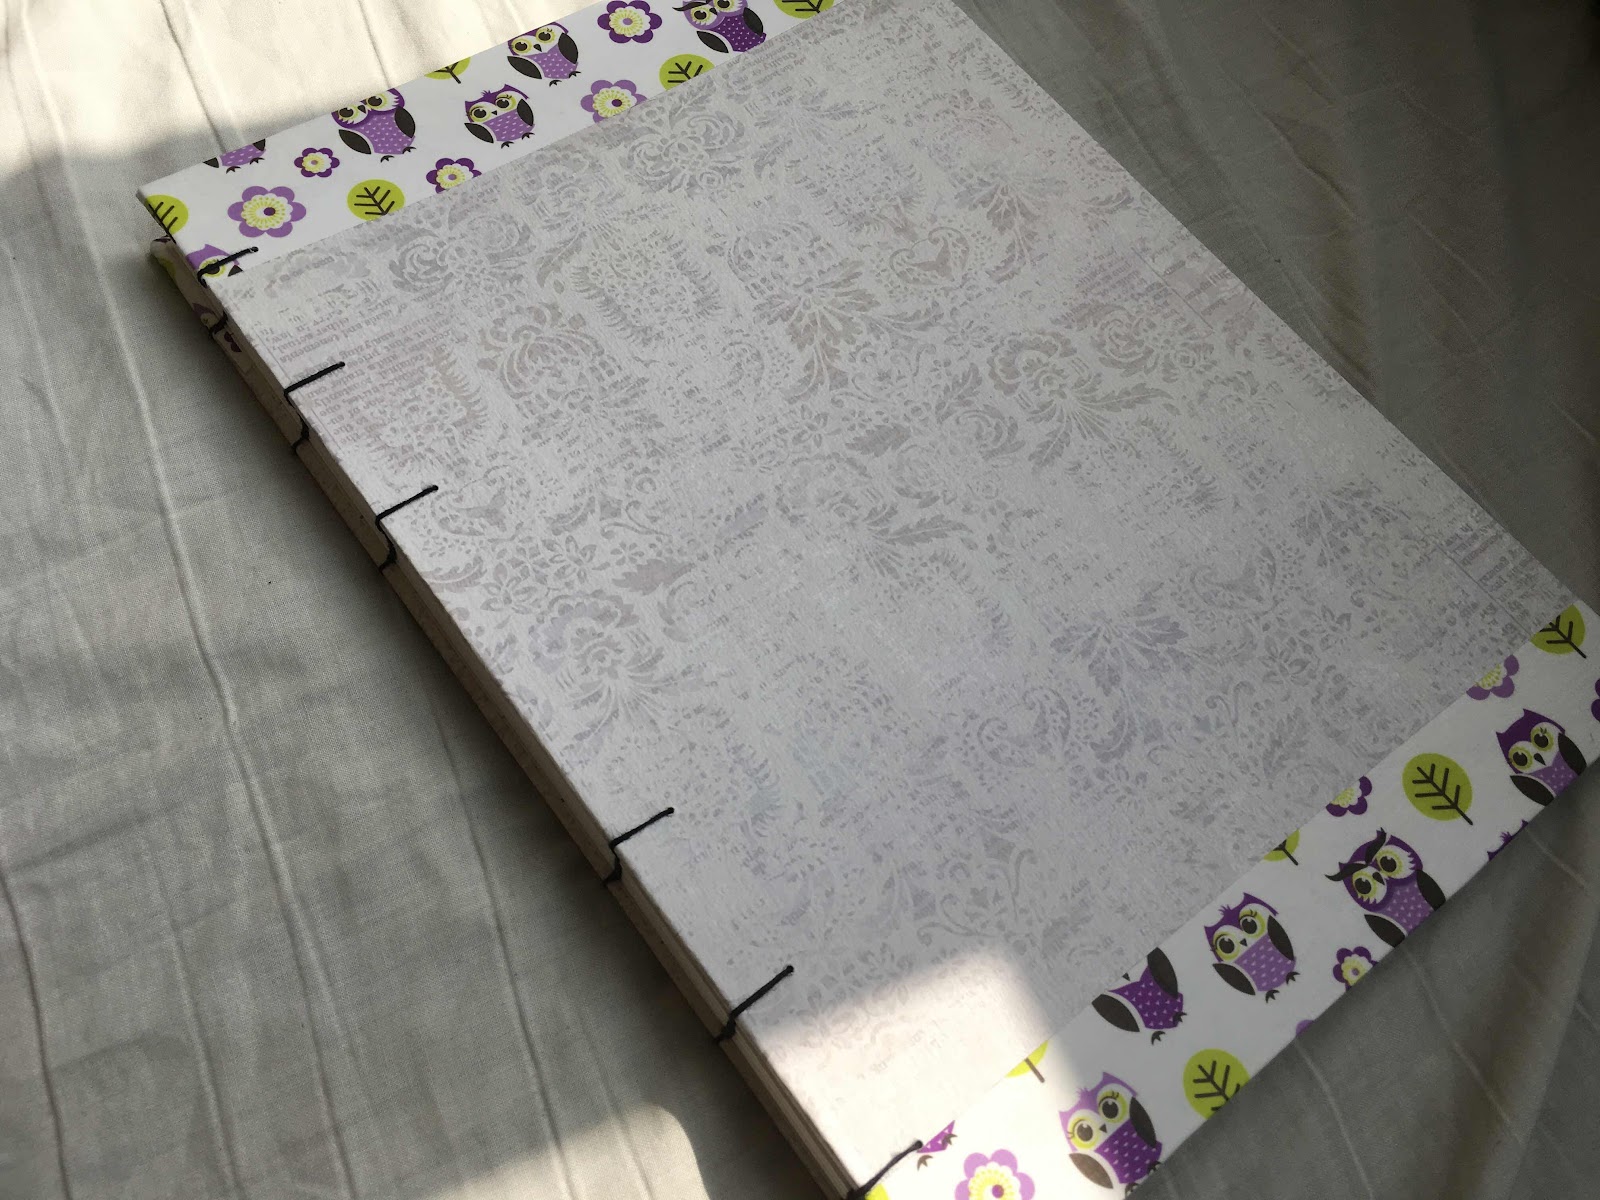
The first book I made is an A4 size book, with hard cardboard covers. I used printed papers and some pretty duck tape for the outside and the inside covers.
The spine with the stitching.
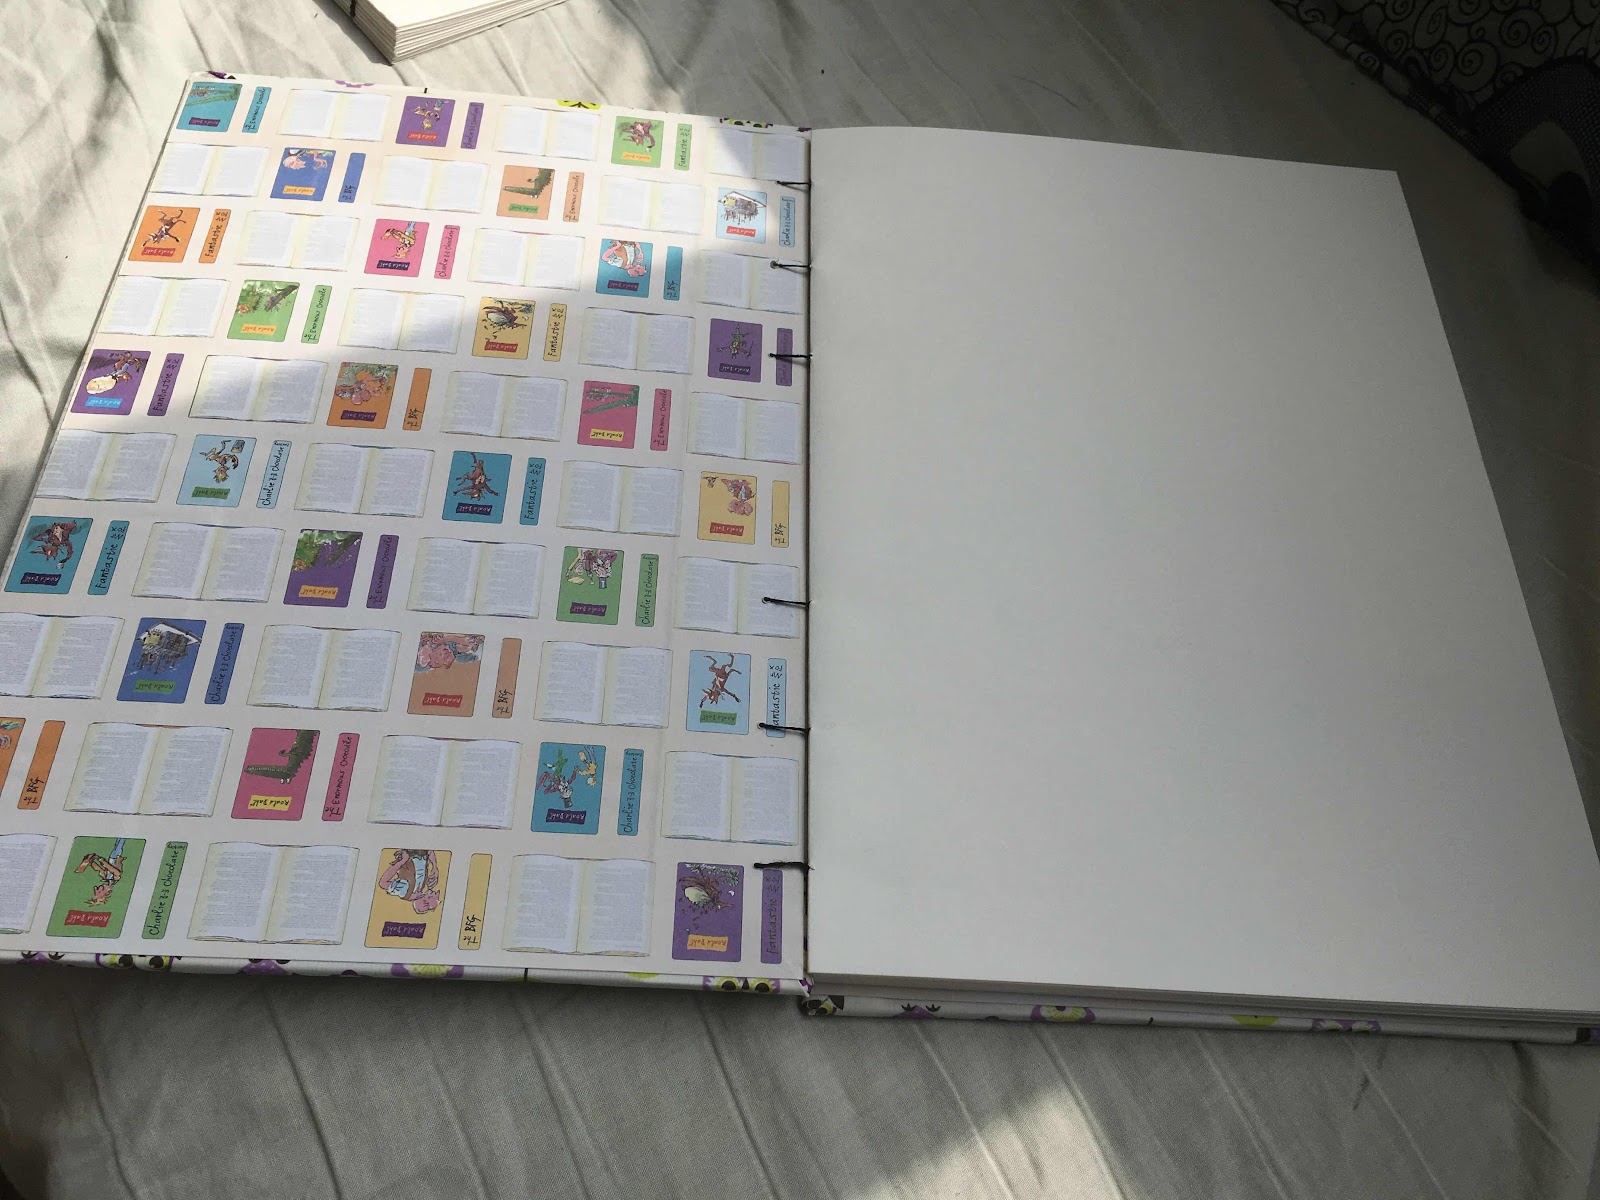
And the inside of the cover, with some Roald Dahl themed paper...
I made two of this size sketchbook, one I gave to another member of my art group. And by coincidence her previous sketchbook was full just a day or two before I gave her mine; sometimes it feels good to be in the right place at the right time :)
I also made a couple more, smaller sketchbooks. I had found a lovely tutorial on how to make a small watercolour sketchbook with a leather cover, and the pageblock could be removed and replaced. If there is one thing I look for in sketchbooks and journals it is the reuseability of the covers. Travellers notebooks are right up my alley, fully customisable to whatever I need. This is the sketchbook
tutorial I used as inspiration for the following books.
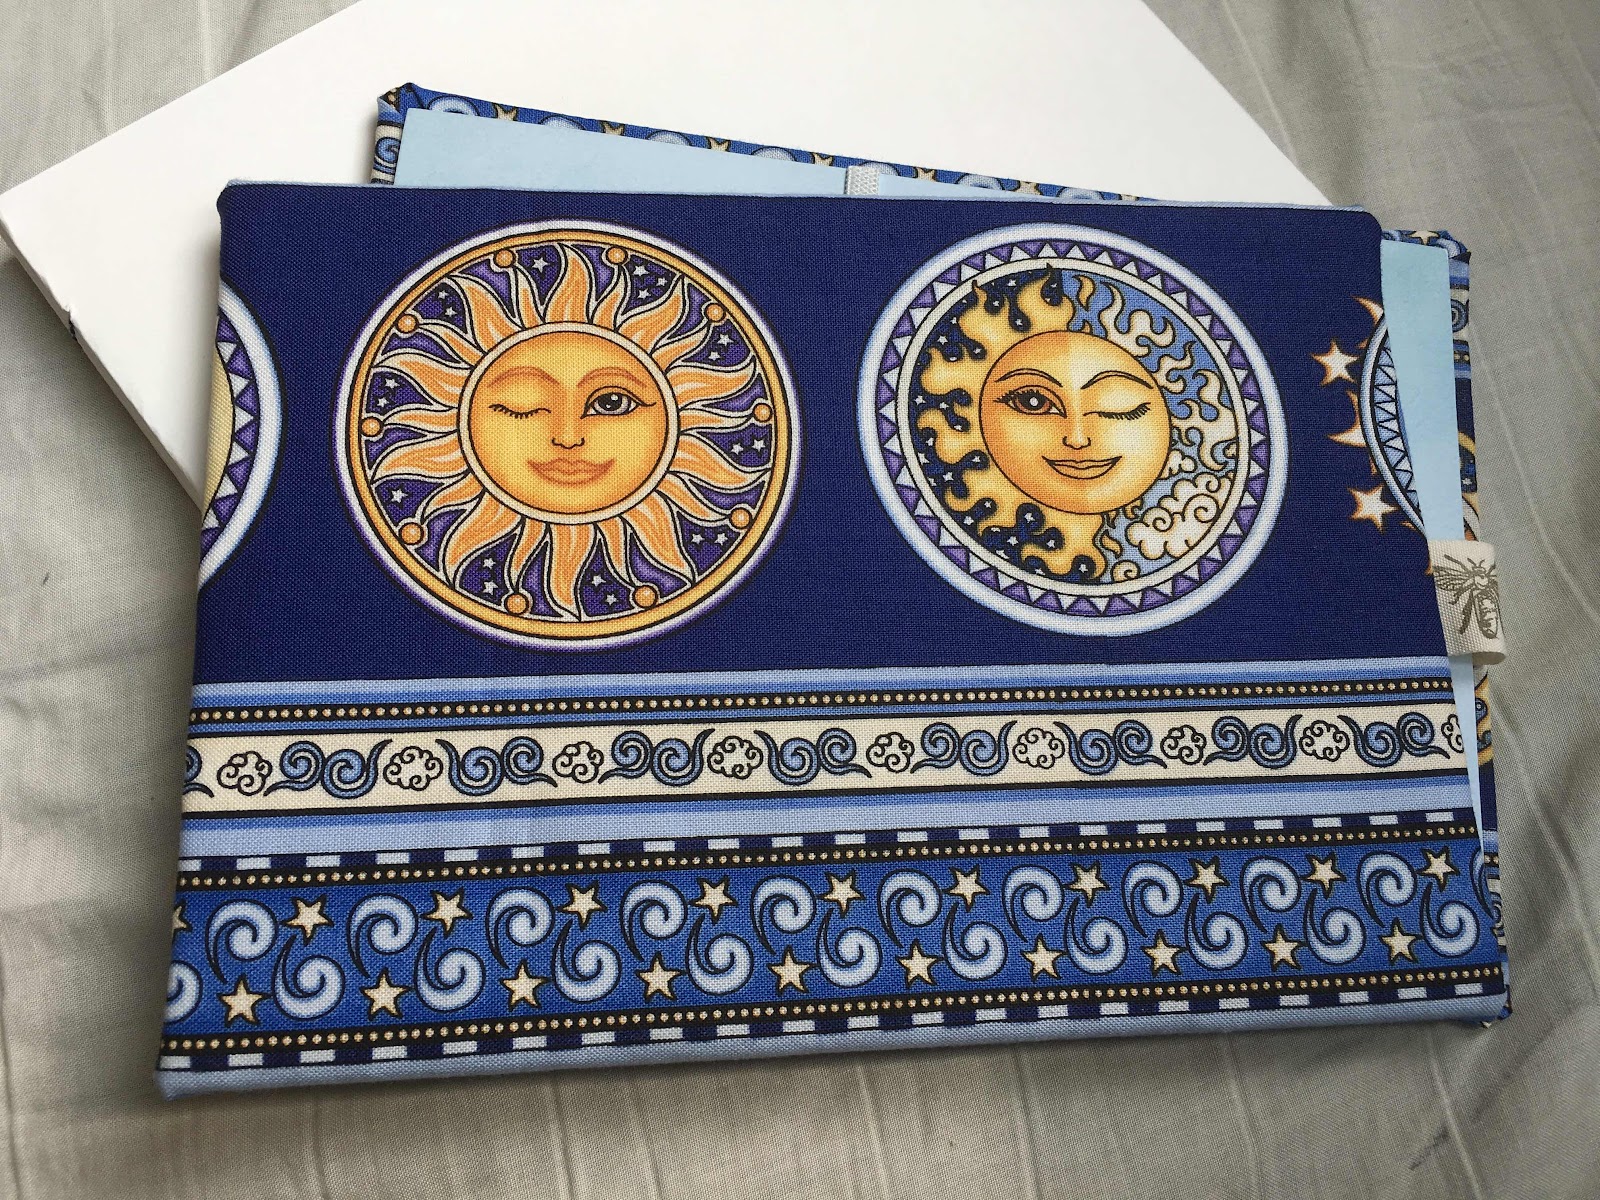
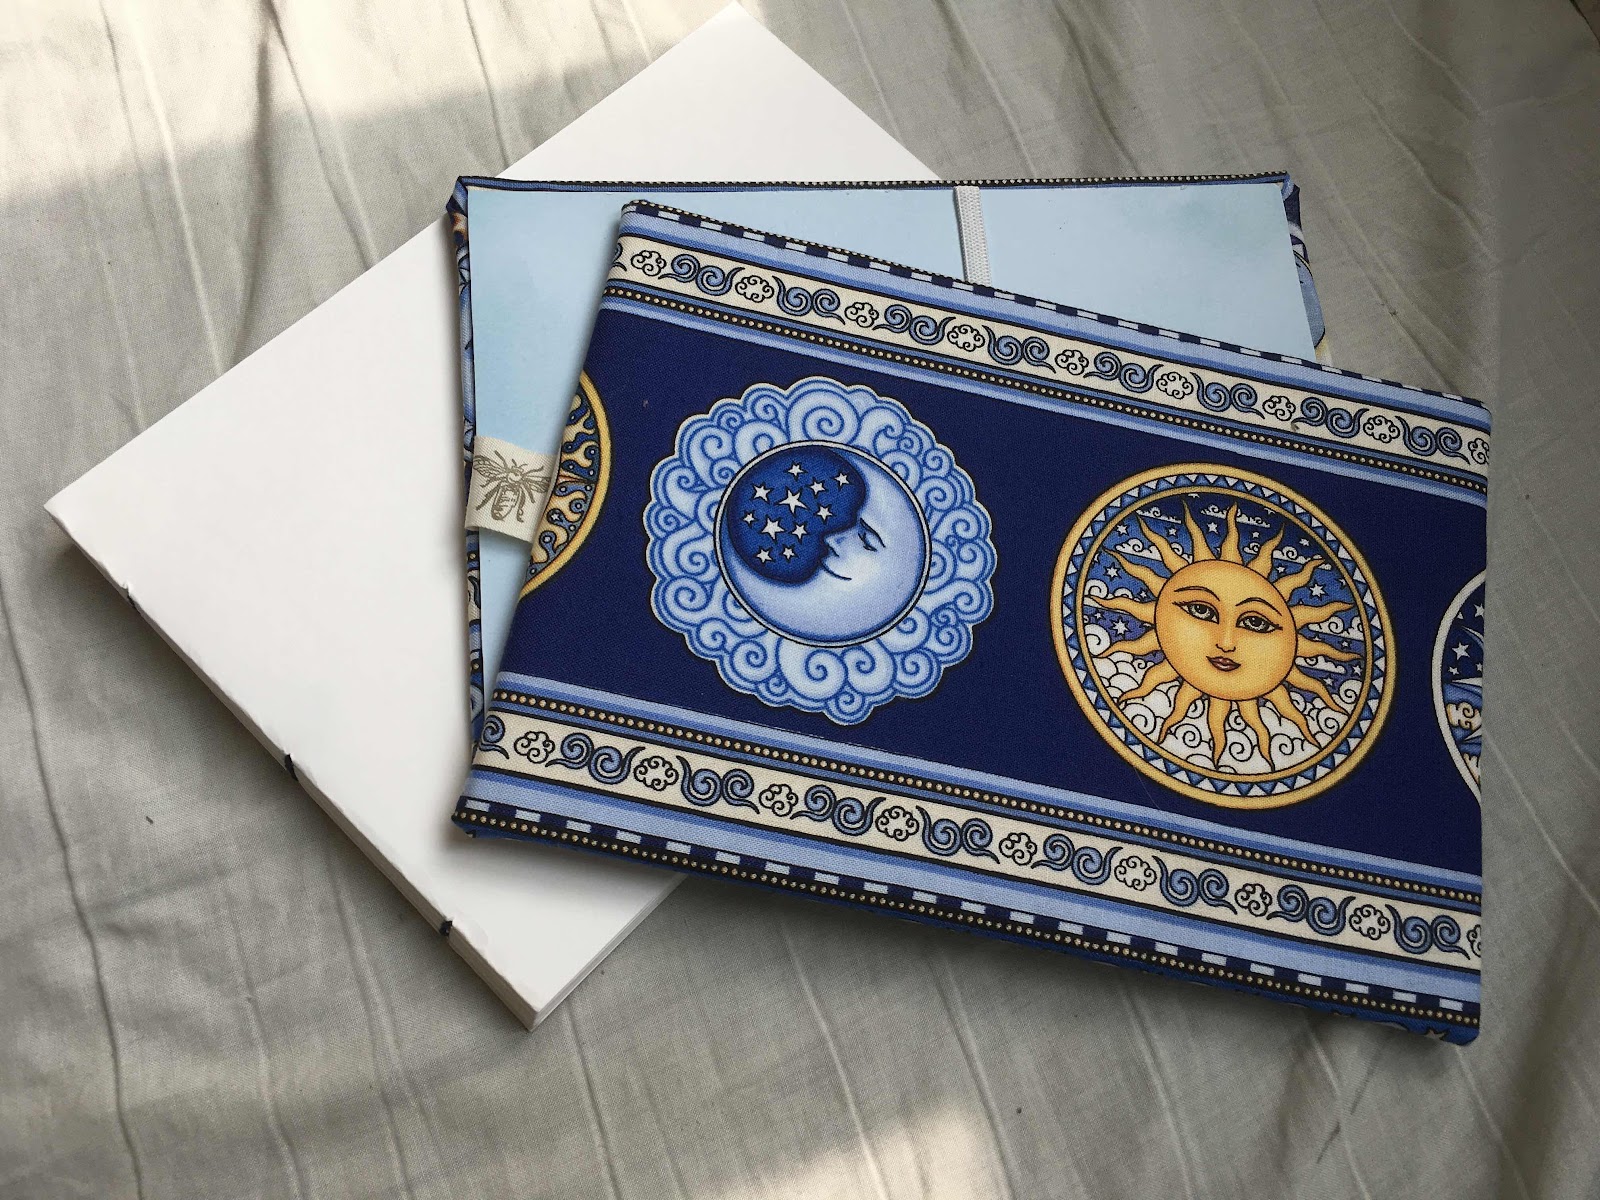
So I got out my remaining hard cardboard for the covers, fabric and I also cut some more of the Canson paper. I made 3 books in total, one with a blue japanese style fabric with a crane bird on it, the girl this book was intended for had drawn crane birds before. Then a lovely fabric with whimsical sun and moon designs, again aimed to fit the interests of the intended recipient. And I also had enough fabric of this left, that I could make another book for myself.
This is my own little one from the front

and the back; as mentioned before this cover was made with left over fabric and ended up a little offcentre.
This journal was built to have an interchangeable paper block inside and so needed a little something to connect the front and back cover. I used a little fabric trim with insect design, the strip of trim is attached to both covers and the paper block is not; you will see that in the next picture...

This next picture allows you to see the inside of the cover with the trim holding the covers together and also the elastic that keeps the paper inside the cover.
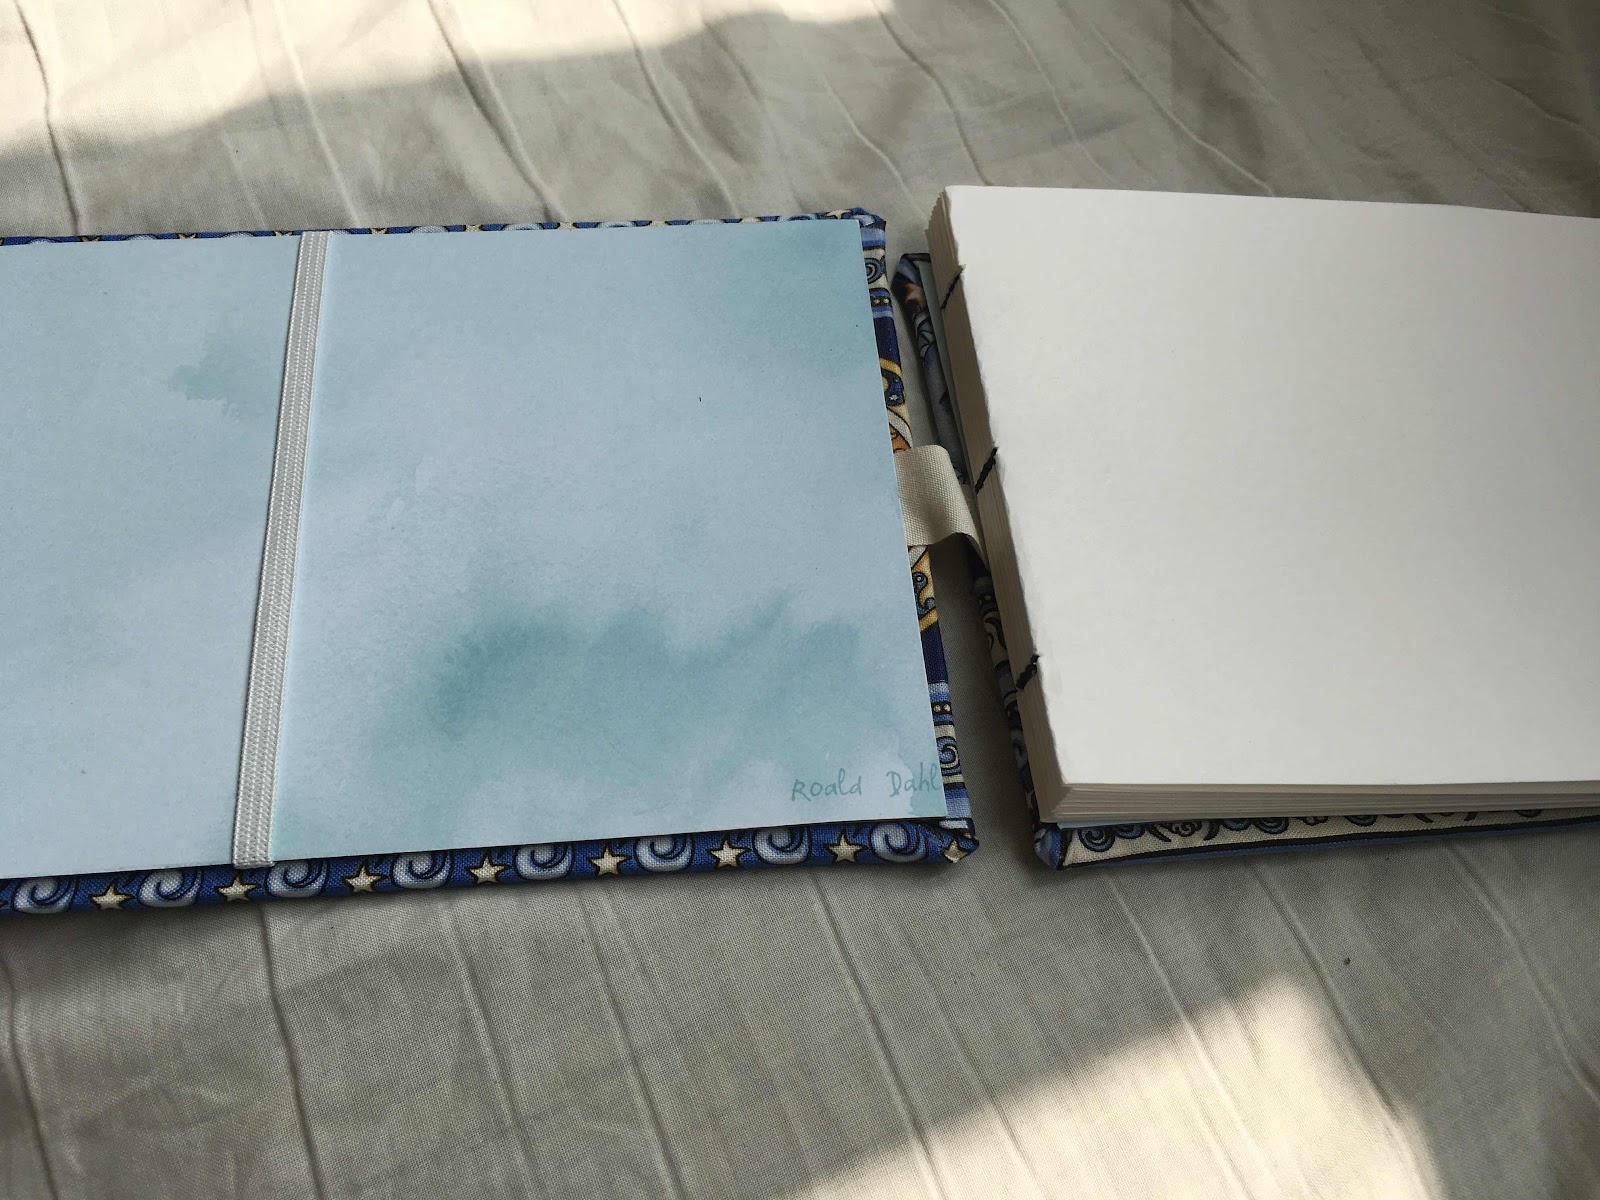
And then the paperblock and the covers separately. I personally love most methods of binding that allow me to reuse the outside and replace the inside at will and use any paper I choose.
I hope you enjoyed my newest scetchbook process, and if you are a recipient of one of them: Happy Arting !